


How to Create the Perfect Gallery Wall with Travel Prints

Gallery walls have become one of the most popular interior design trends, and for good reason. They transform blank walls into personal storytelling spaces, and when created with travel prints, they become visual diaries of your adventures and dreams. Whether you're a seasoned traveller or an armchair explorer, a travel print gallery wall adds character, personality, and conversation-starting appeal to any room.
Why Travel Prints Are Perfect for Gallery Walls
Visual Cohesion with Variety
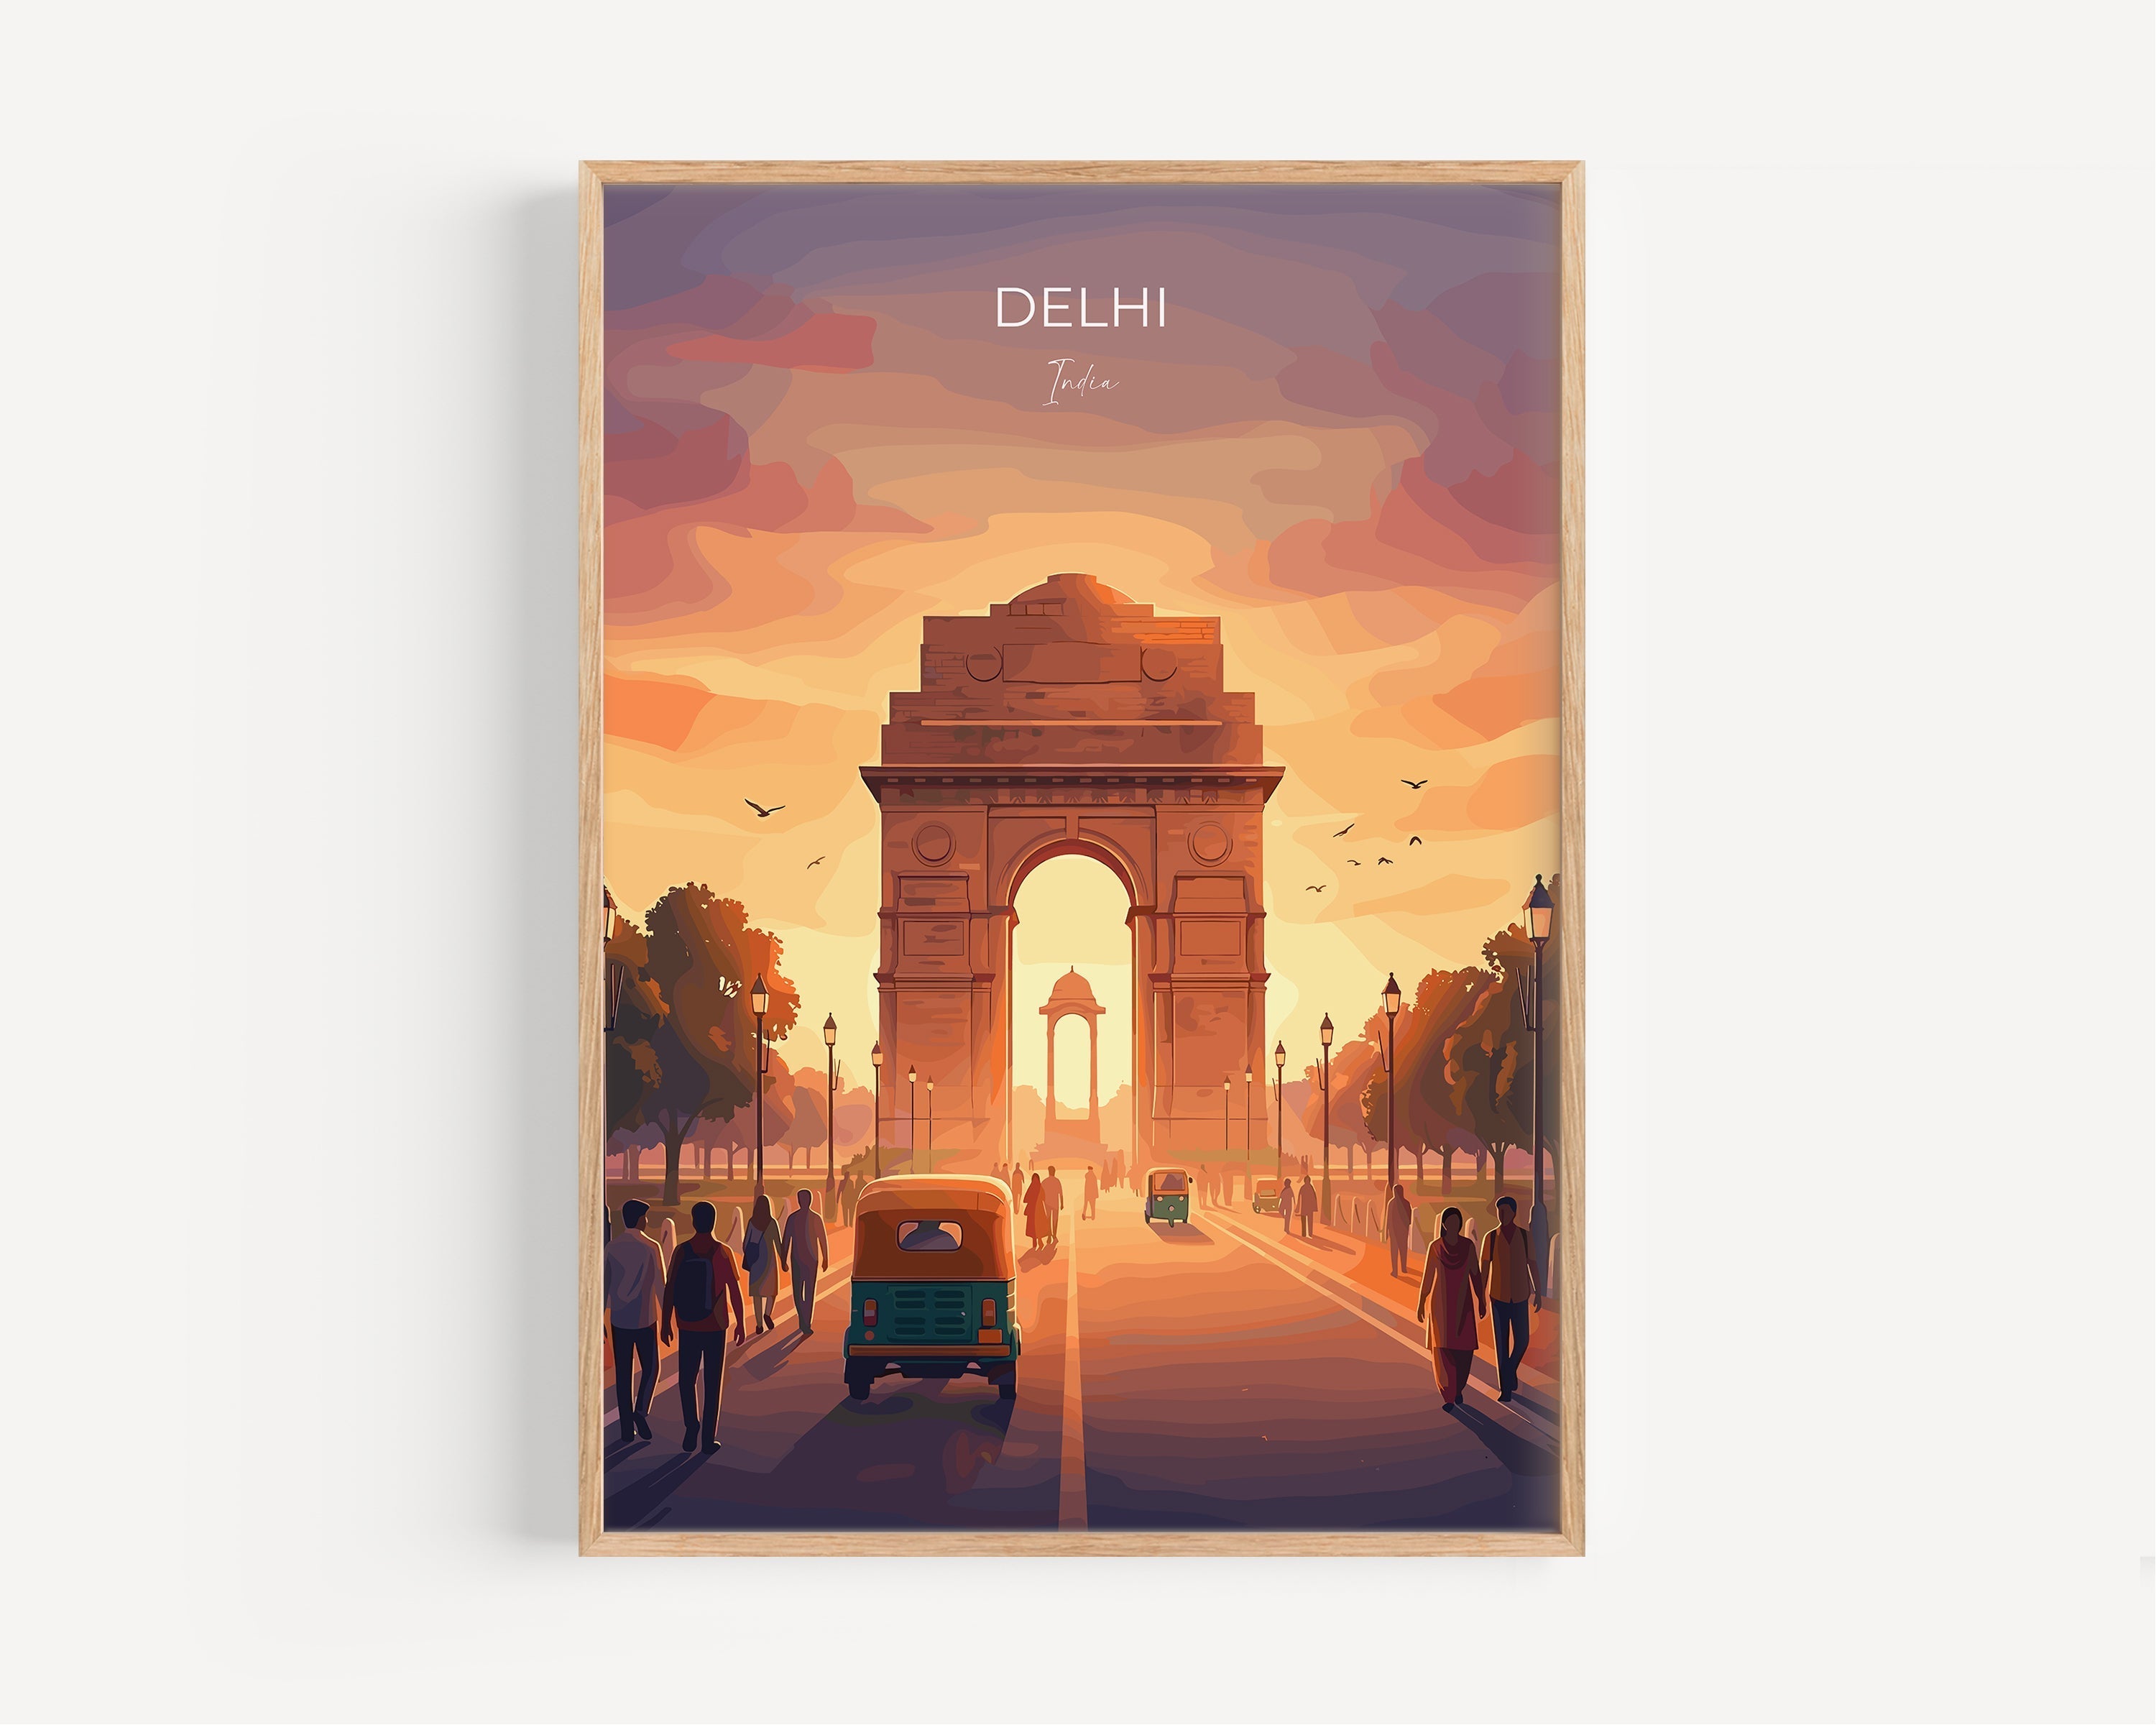
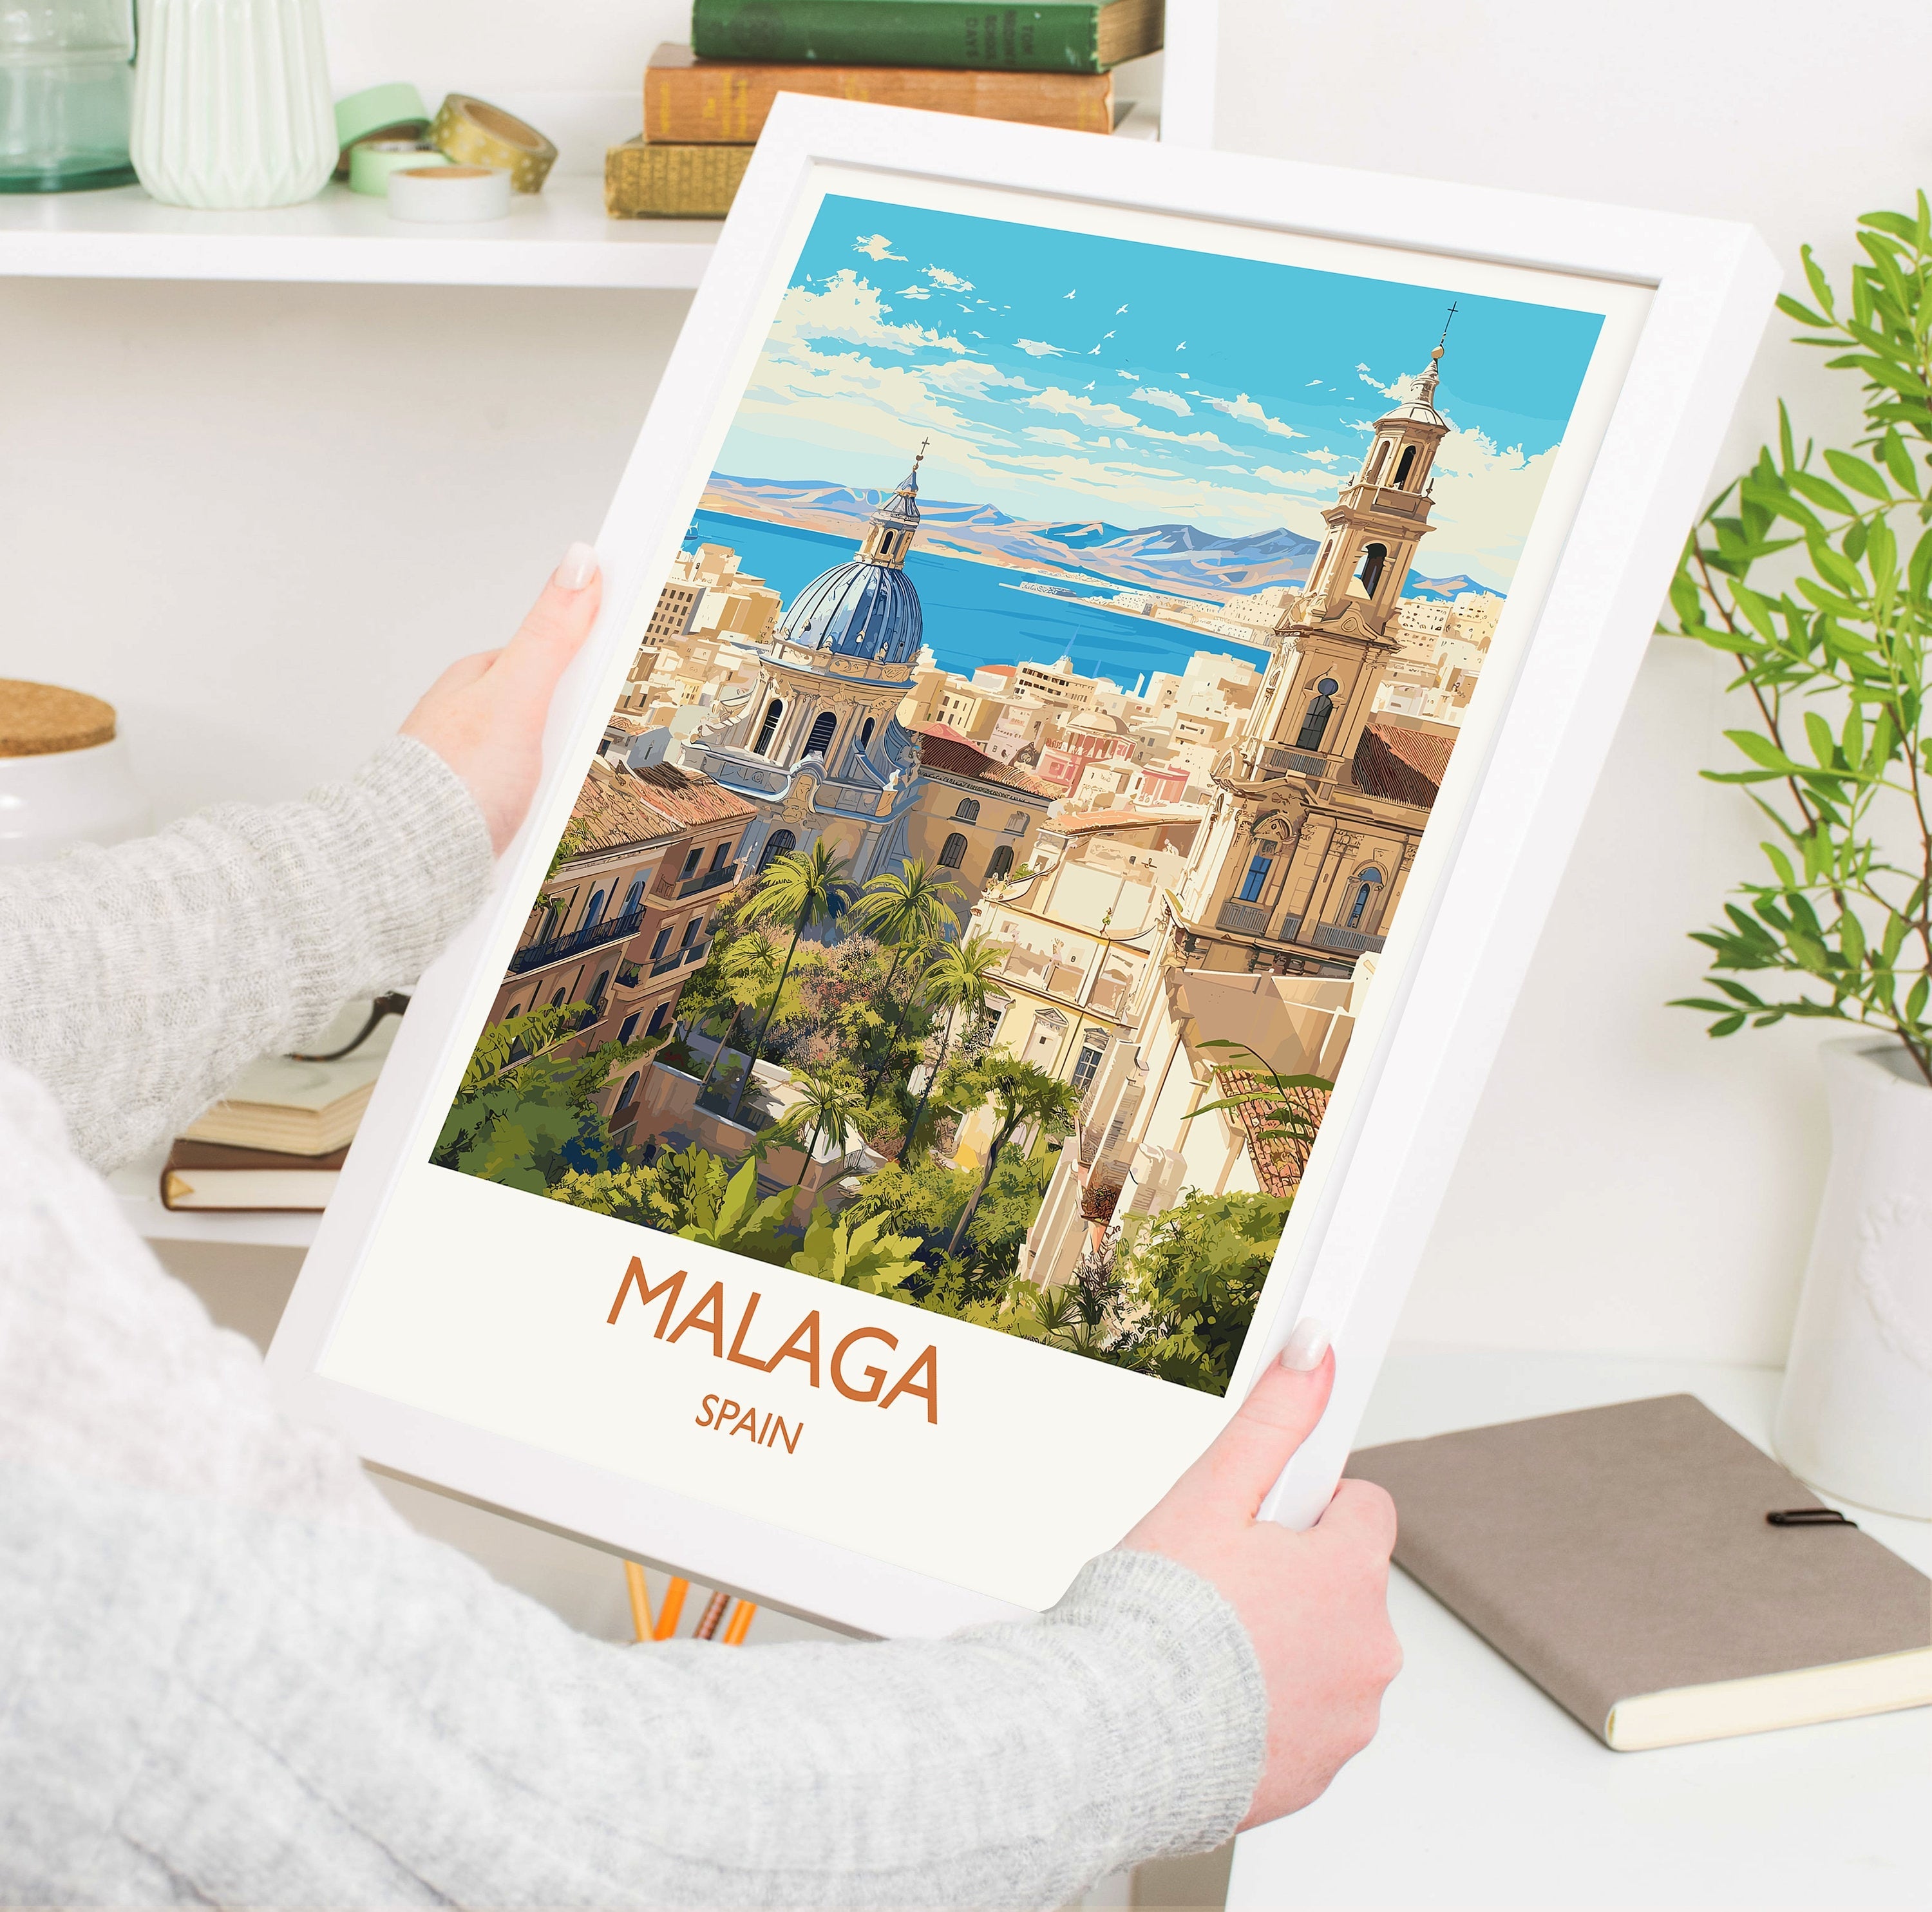
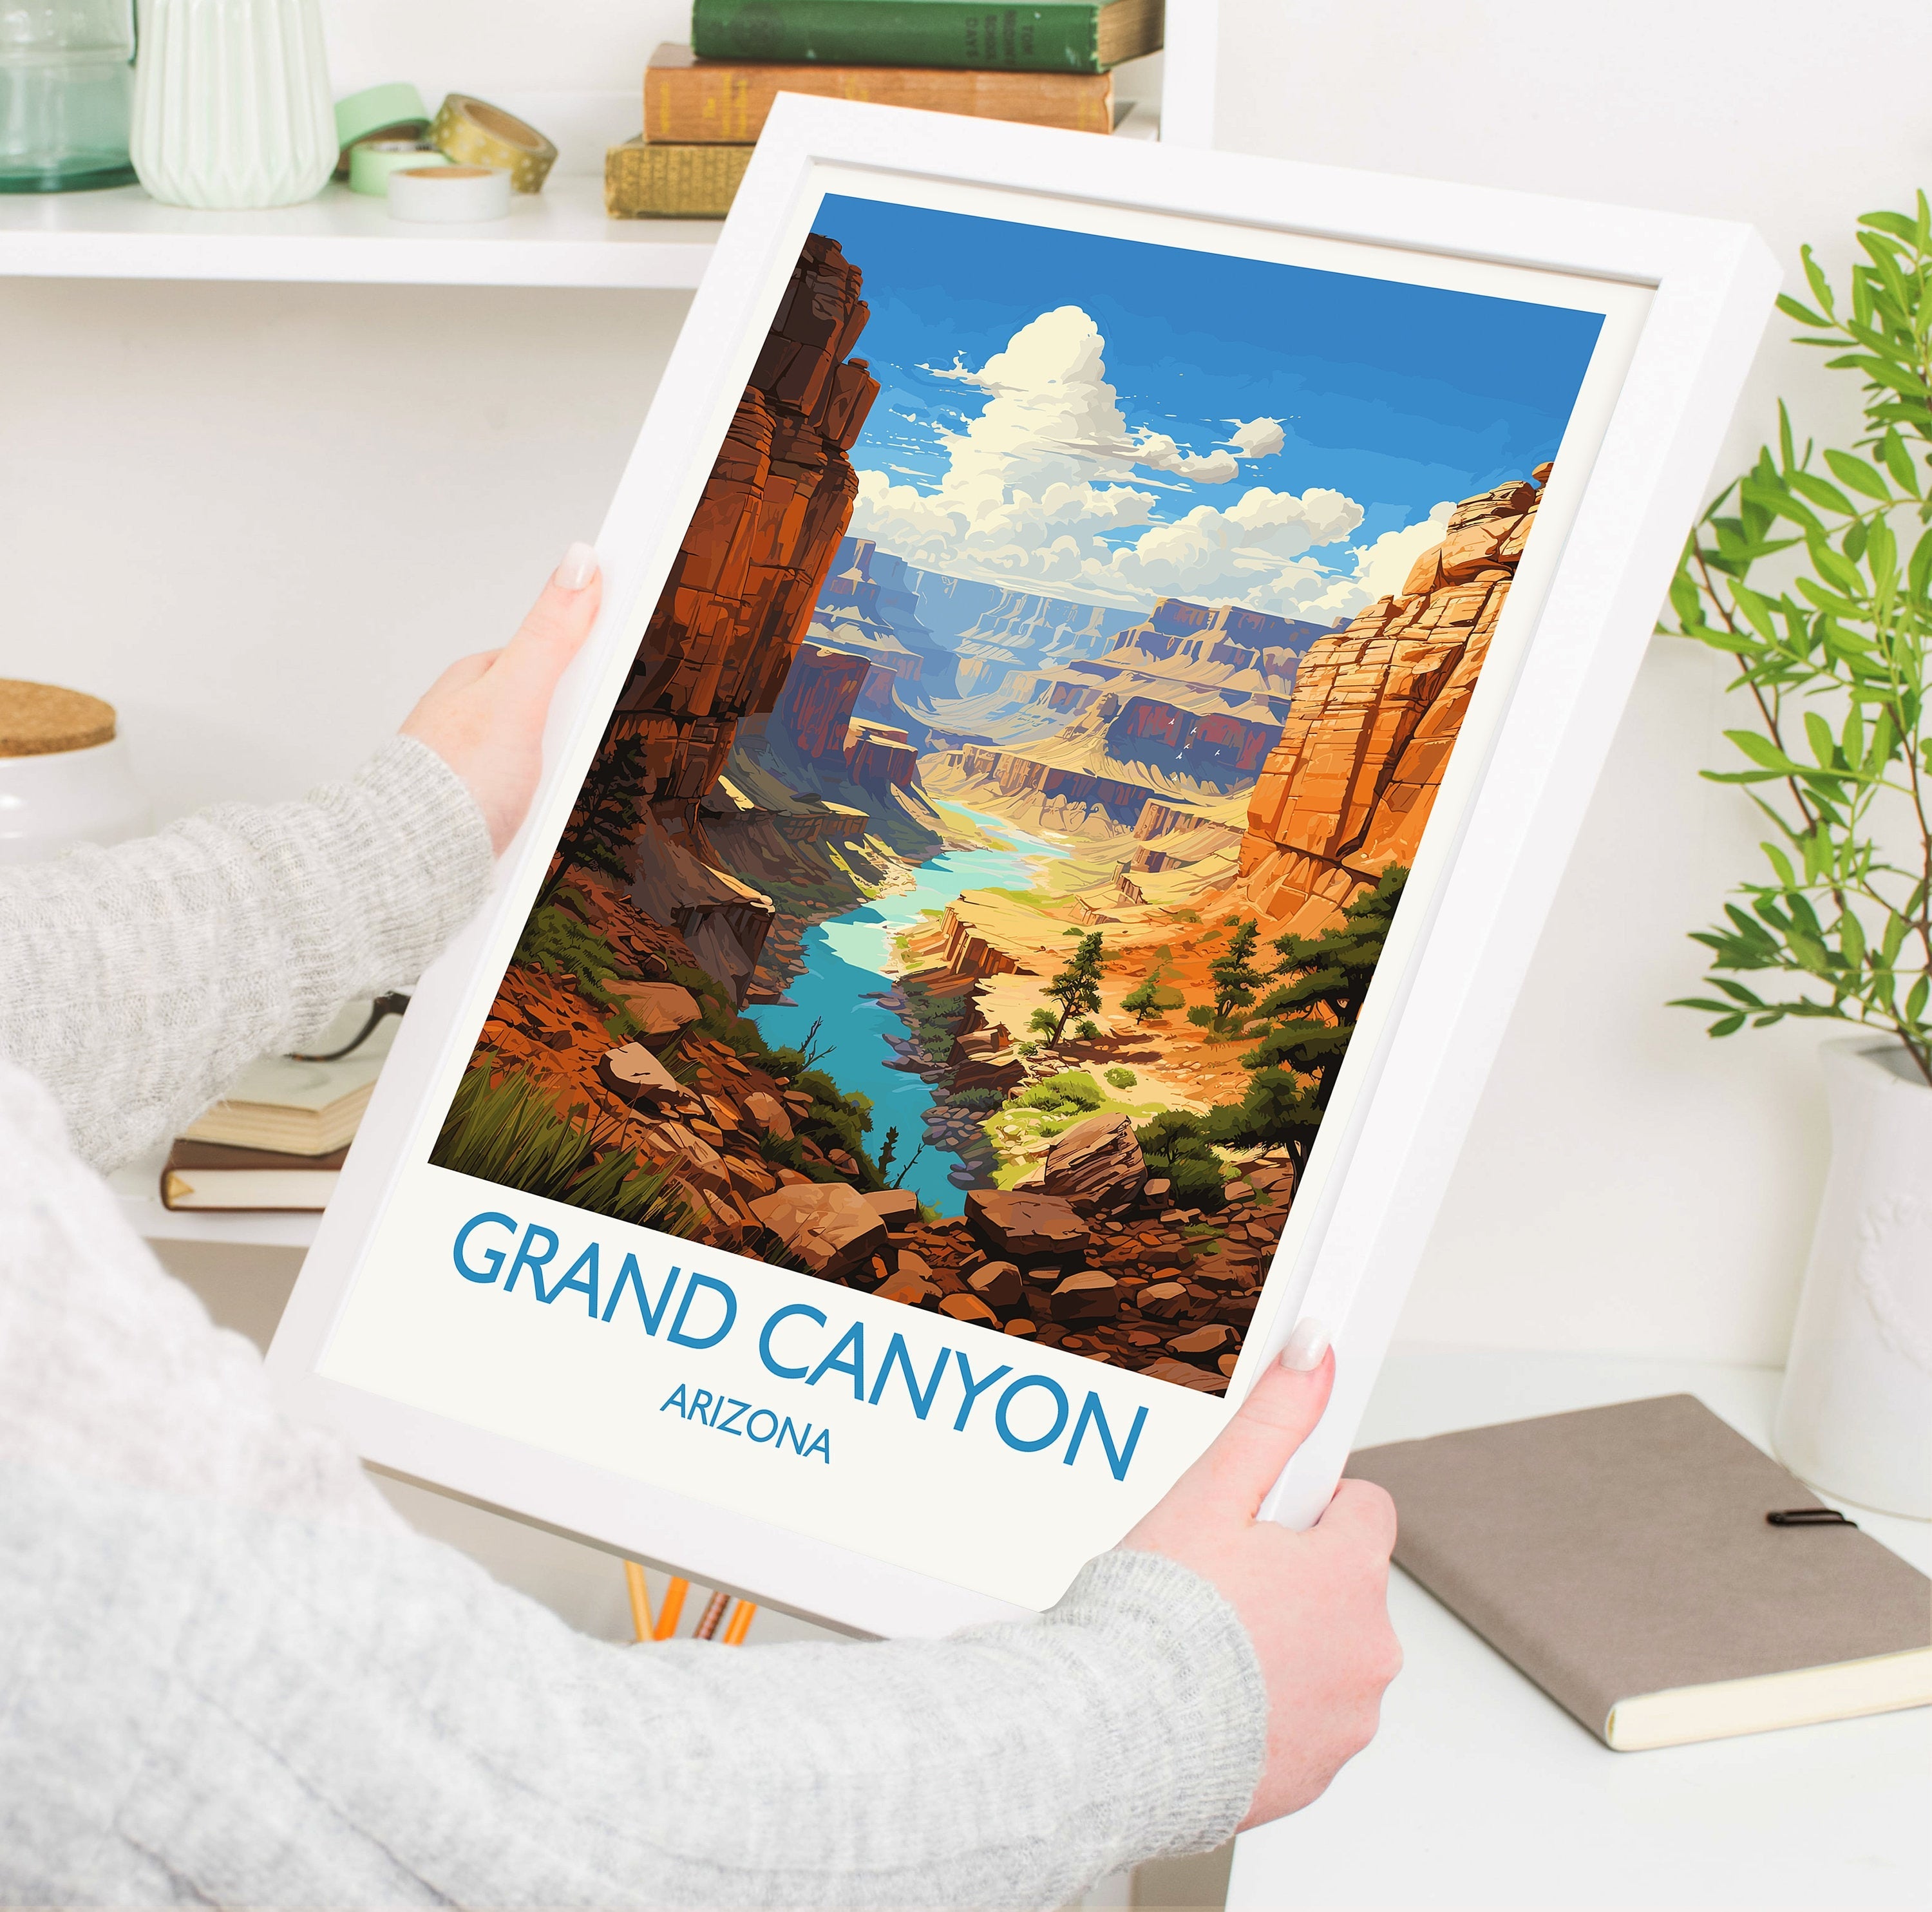
Travel prints naturally work together thematically while offering visual variety. Different destinations provide diverse colours, compositions, and moods, creating interest while maintaining a unified travel theme.
Personal Storytelling
Your gallery wall becomes a map of your life – places you've been, locations you love, destinations you dream of visiting. It's decor that tells your unique story.
Flexibility and Growth
Gallery walls can evolve over time. Add new destinations as you travel, swap prints seasonally, or expand your collection as your wall space allows. This flexibility makes gallery walls dynamic rather than static decor.
Cost-Effective Impact
Multiple smaller prints often cost less than one large statement piece but create equal or greater visual impact. This makes gallery walls an accessible option for various budgets.
Planning Your Travel Print Gallery Wall
Step 1: Choose Your Wall
Select a wall that will showcase your gallery effectively:
Ideal locations:
-
Living room feature walls
-
Hallway corridors
-
Staircase walls
-
Bedroom accent walls
-
Home office inspiration walls
-
Dining room conversation starters
Considerations:
-
Available space (measure width and height)
-
Lighting conditions (natural and artificial)
-
Viewing distance (close-up detail vs. distance impact)
-
Existing furniture and decor
-
Wall colour and texture
Step 2: Select Your Destinations
Choose locations that create a cohesive collection:
Thematic approaches:
-
Personal journey: Places you've visited in chronological order
-
Bucket list: Dream destinations you plan to visit
-
Regional focus: European cities, UK landscapes, American icons
-
Mixed memories: Combination of visited and aspirational locations
-
Heritage: Places connected to your family history
-
Seasonal: Destinations representing different times of year
How many prints?
-
Small gallery: 3-5 prints
-
Medium gallery: 6-9 prints
-
Large gallery: 10+ prints
Pro tip: Start with an odd number of prints (3, 5, 7) for more visually pleasing arrangements.
Step 3: Choose Your Sizes
Mixing print sizes creates visual interest and dynamic energy:
Popular size combinations:
-
Uniform: All A4 or all A3 for clean, organised look
-
Varied: Mix A4, A3, and A2 for dynamic composition
-
Focal point: One large A2 print surrounded by smaller A4/A3 prints
-
Symmetrical: Mirror sizes on either side of a central piece
Size selection tips:
-
Larger prints anchor the composition
-
Smaller prints fill gaps and add detail
-
Maintain consistent spacing regardless of size variations
-
Consider the total footprint (overall width and height)
Step 4: Select Frame Styles
Frame choice significantly impacts your gallery wall's overall aesthetic:
Matching frames:
-
Creates cohesive, organised appearance
-
Easier to plan and install
-
Works well for minimalist or traditional spaces
-
Best for uniform-sized prints
Mixed frames:
-
Adds eclectic, collected-over-time feel
-
Allows more personality and creativity
-
Works well for varied print sizes
-
Suits bohemian or contemporary spaces
Frame colour options:
-
Black: Modern, dramatic, works with any decor
-
White: Clean, gallery-style, brightens spaces
-
Natural wood: Warm, organic, suits travel themes
-
Mixed metals: Contemporary, adds dimension
-
Mixed colours: Eclectic, playful, personality-driven
Consistency tip: Even with mixed frames, maintain one consistent element (all wood tones, all thin profiles, all similar colours) for cohesion.
Gallery Wall Layout Styles
Grid Layout
Prints arranged in neat rows and columns create structured, organised appearance.
Best for:
-
Uniform-sized prints
-
Modern or minimalist spaces
-
Smaller collections (4-9 prints)
-
Symmetrical wall spaces
Tips:
-
Maintain equal spacing between all prints
-
Align edges perfectly
-
Works best with matching frames
Salon Style
Prints of various sizes arranged organically, often with edges touching or nearly touching.
Best for:
-
Mixed-size prints
-
Eclectic or traditional spaces
-
Larger collections (7+ prints)
-
Filling entire walls
Tips:
-
Start with largest print as anchor
-
Build outward maintaining visual balance
-
Vary spacing for organic feel
-
Mix frame styles for authenticity
Horizontal Line
Prints arranged in a single horizontal row at eye level.
Best for:
-
Hallways or narrow spaces
-
Above furniture (sofas, beds, consoles)
-
Smaller collections (3-5 prints)
-
Creating width in narrow rooms
Tips:
-
Align tops or bottoms of frames
-
Maintain consistent spacing
-
Works with varied or uniform sizes
Vertical Line
Prints stacked vertically, creating height and drawing eyes upward.
Best for:
-
Narrow wall spaces
-
Beside doorways or windows
-
Creating height in rooms with low ceilings
-
Smaller collections (3-5 prints)
Tips:
-
Centre alignment creates formal look
-
Offset alignment adds interest
-
Consider spacing carefully
Symmetrical Layout
Mirror-image arrangement creates balanced, formal appearance.
Best for:
-
Traditional or formal spaces
-
Above fireplaces or beds
-
Creating calm, organised feel
-
Even numbers of prints
Tips:
-
Use identical or similar prints on each side
-
Maintain perfect spacing
-
Centre around focal point
Asymmetrical Layout
Balanced but not mirrored arrangement creates dynamic, contemporary feel.
Best for:
-
Modern or eclectic spaces
-
Mixed-size collections
-
Creating visual interest
-
Odd numbers of prints
Tips:
-
Balance visual weight across the wall
-
Vary sizes and spacing
-
Step back frequently to assess balance
Step-by-Step Installation Guide
Materials Needed:
-
Hammer or drill
-
Picture hooks or wall anchors
-
Spirit level
-
Measuring tape
-
Pencil
-
Kraft paper or newspaper (for templates)
-
Painter's tape
Installation Process:
Step 1: Create Templates Trace each frame onto kraft paper or newspaper and cut out. This allows you to arrange and rearrange without putting holes in your wall.
Step 2: Arrange on Floor Lay out your complete gallery arrangement on the floor, experimenting with different configurations until you're satisfied.
Step 3: Transfer to Wall Use painter's tape to attach paper templates to the wall in your chosen arrangement. Step back and assess from various angles and distances.
Step 4: Mark Hanging Points Mark where nails or hooks will go on each template, considering the hanging hardware on your frames.
Step 5: Install Hardware Remove templates one at a time, install hanging hardware at marked points, and immediately hang the corresponding frame.
Step 6: Level and Adjust Use a spirit level to ensure each frame is straight. Make minor adjustments as needed.
Pro tips:
-
Start from the centre and work outward
-
Hang largest pieces first
-
Maintain consistent spacing (2-3 inches is standard)
-
Take photos of your floor arrangement for reference
Spacing and Measurements
Standard Spacing Guidelines:
-
Between prints: 2-3 inches (5-8cm)
-
From ceiling: 6-12 inches (15-30cm)
-
From furniture: 6-8 inches (15-20cm)
-
Eye level centre: 57-60 inches (145-152cm) from floor
Total Gallery Dimensions:
Calculate the overall footprint of your gallery wall:
-
Measure the width and height of your arrangement
-
Ensure it's proportional to your wall space
-
Leave adequate breathing room around edges
-
Consider furniture below when determining height
Colour Coordination
Complementary Colour Schemes:
Travel prints come in various colour palettes. Consider:
Monochromatic: Prints in similar colour families create calm cohesion Complementary: Contrasting colours add energy and interest Neutral base: Predominantly neutral prints with colour accents Bold statement: Vibrant colours throughout for dramatic impact
Coordination tips:
-
Pull colours from existing room decor
-
Consider wall colour as part of the palette
-
Use frames to tie colours together
-
Balance warm and cool tones
Lighting Your Gallery Wall
Proper lighting enhances your travel prints and creates ambiance:
Lighting Options:
-
Picture lights: Individual lights above each frame
-
Track lighting: Adjustable spots highlighting entire wall
-
Wall washers: Soft, even illumination across the gallery
-
Natural light: Position to avoid direct sunlight (prevents fading)
Lighting tips:
-
Avoid glare on glass-covered prints
-
Use LED bulbs to prevent heat damage
-
Consider dimmer switches for ambiance control
-
Angle lights at 30-degree angle to minimise glare
Maintaining Your Gallery Wall
Regular Care:
-
Dust frames weekly with soft cloth
-
Clean glass monthly with appropriate cleaner
-
Check hanging hardware annually
-
Rotate prints seasonally if desired
Long-term Preservation:
-
Avoid direct sunlight exposure
-
Maintain stable humidity levels
-
Use UV-protective glass for valuable prints
-
Keep away from heat sources
Common Gallery Wall Mistakes to Avoid
Hanging Too High
The most common mistake. Centre your gallery at eye level (57-60 inches), not near the ceiling.
Inconsistent Spacing
Uneven gaps create chaotic appearance. Measure carefully and maintain consistent spacing throughout.
Ignoring Furniture Scale
Gallery walls should relate to furniture below. Too small looks lost; too large overwhelms.
Poor Planning
Putting holes in walls before planning leads to mistakes. Always use templates and plan thoroughly.
Neglecting Balance
Even asymmetrical arrangements need visual balance. Distribute visual weight evenly across the wall.
Wrong Frame Proportions
Frames that are too thick or too thin for print sizes look disproportionate. Match frame weight to print size.
Styling Tips for Maximum Impact
Create Focal Points
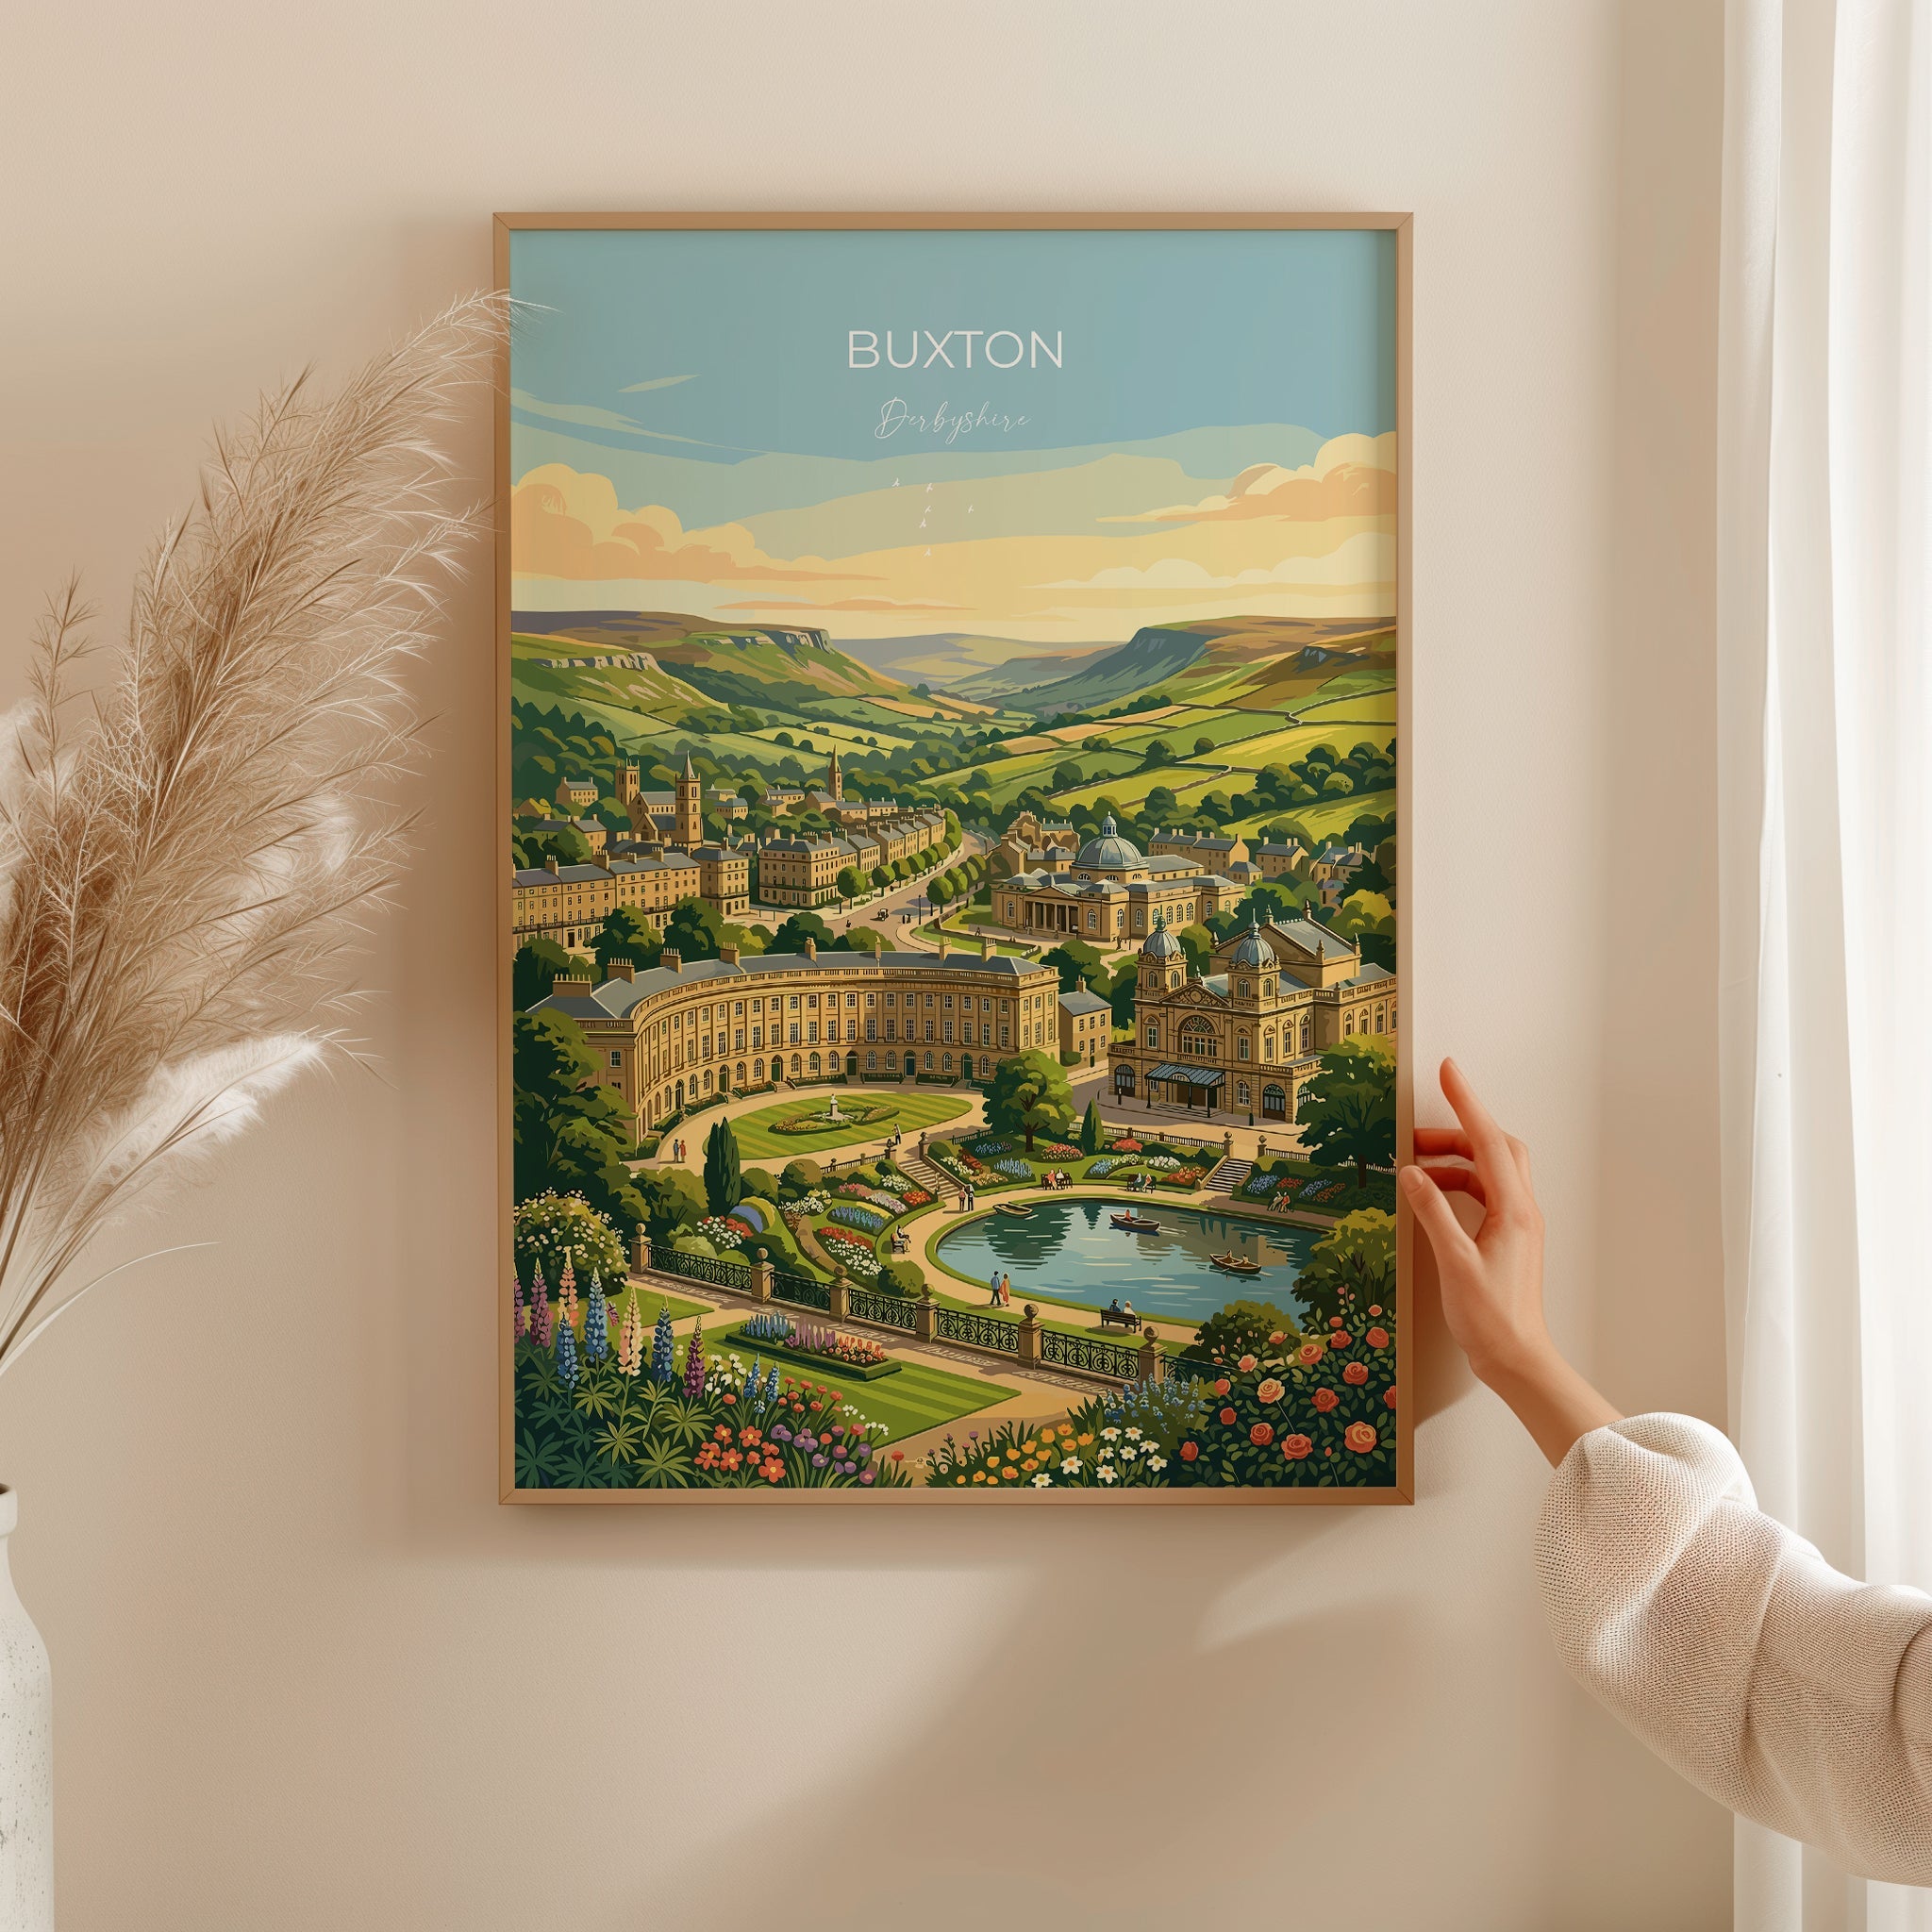
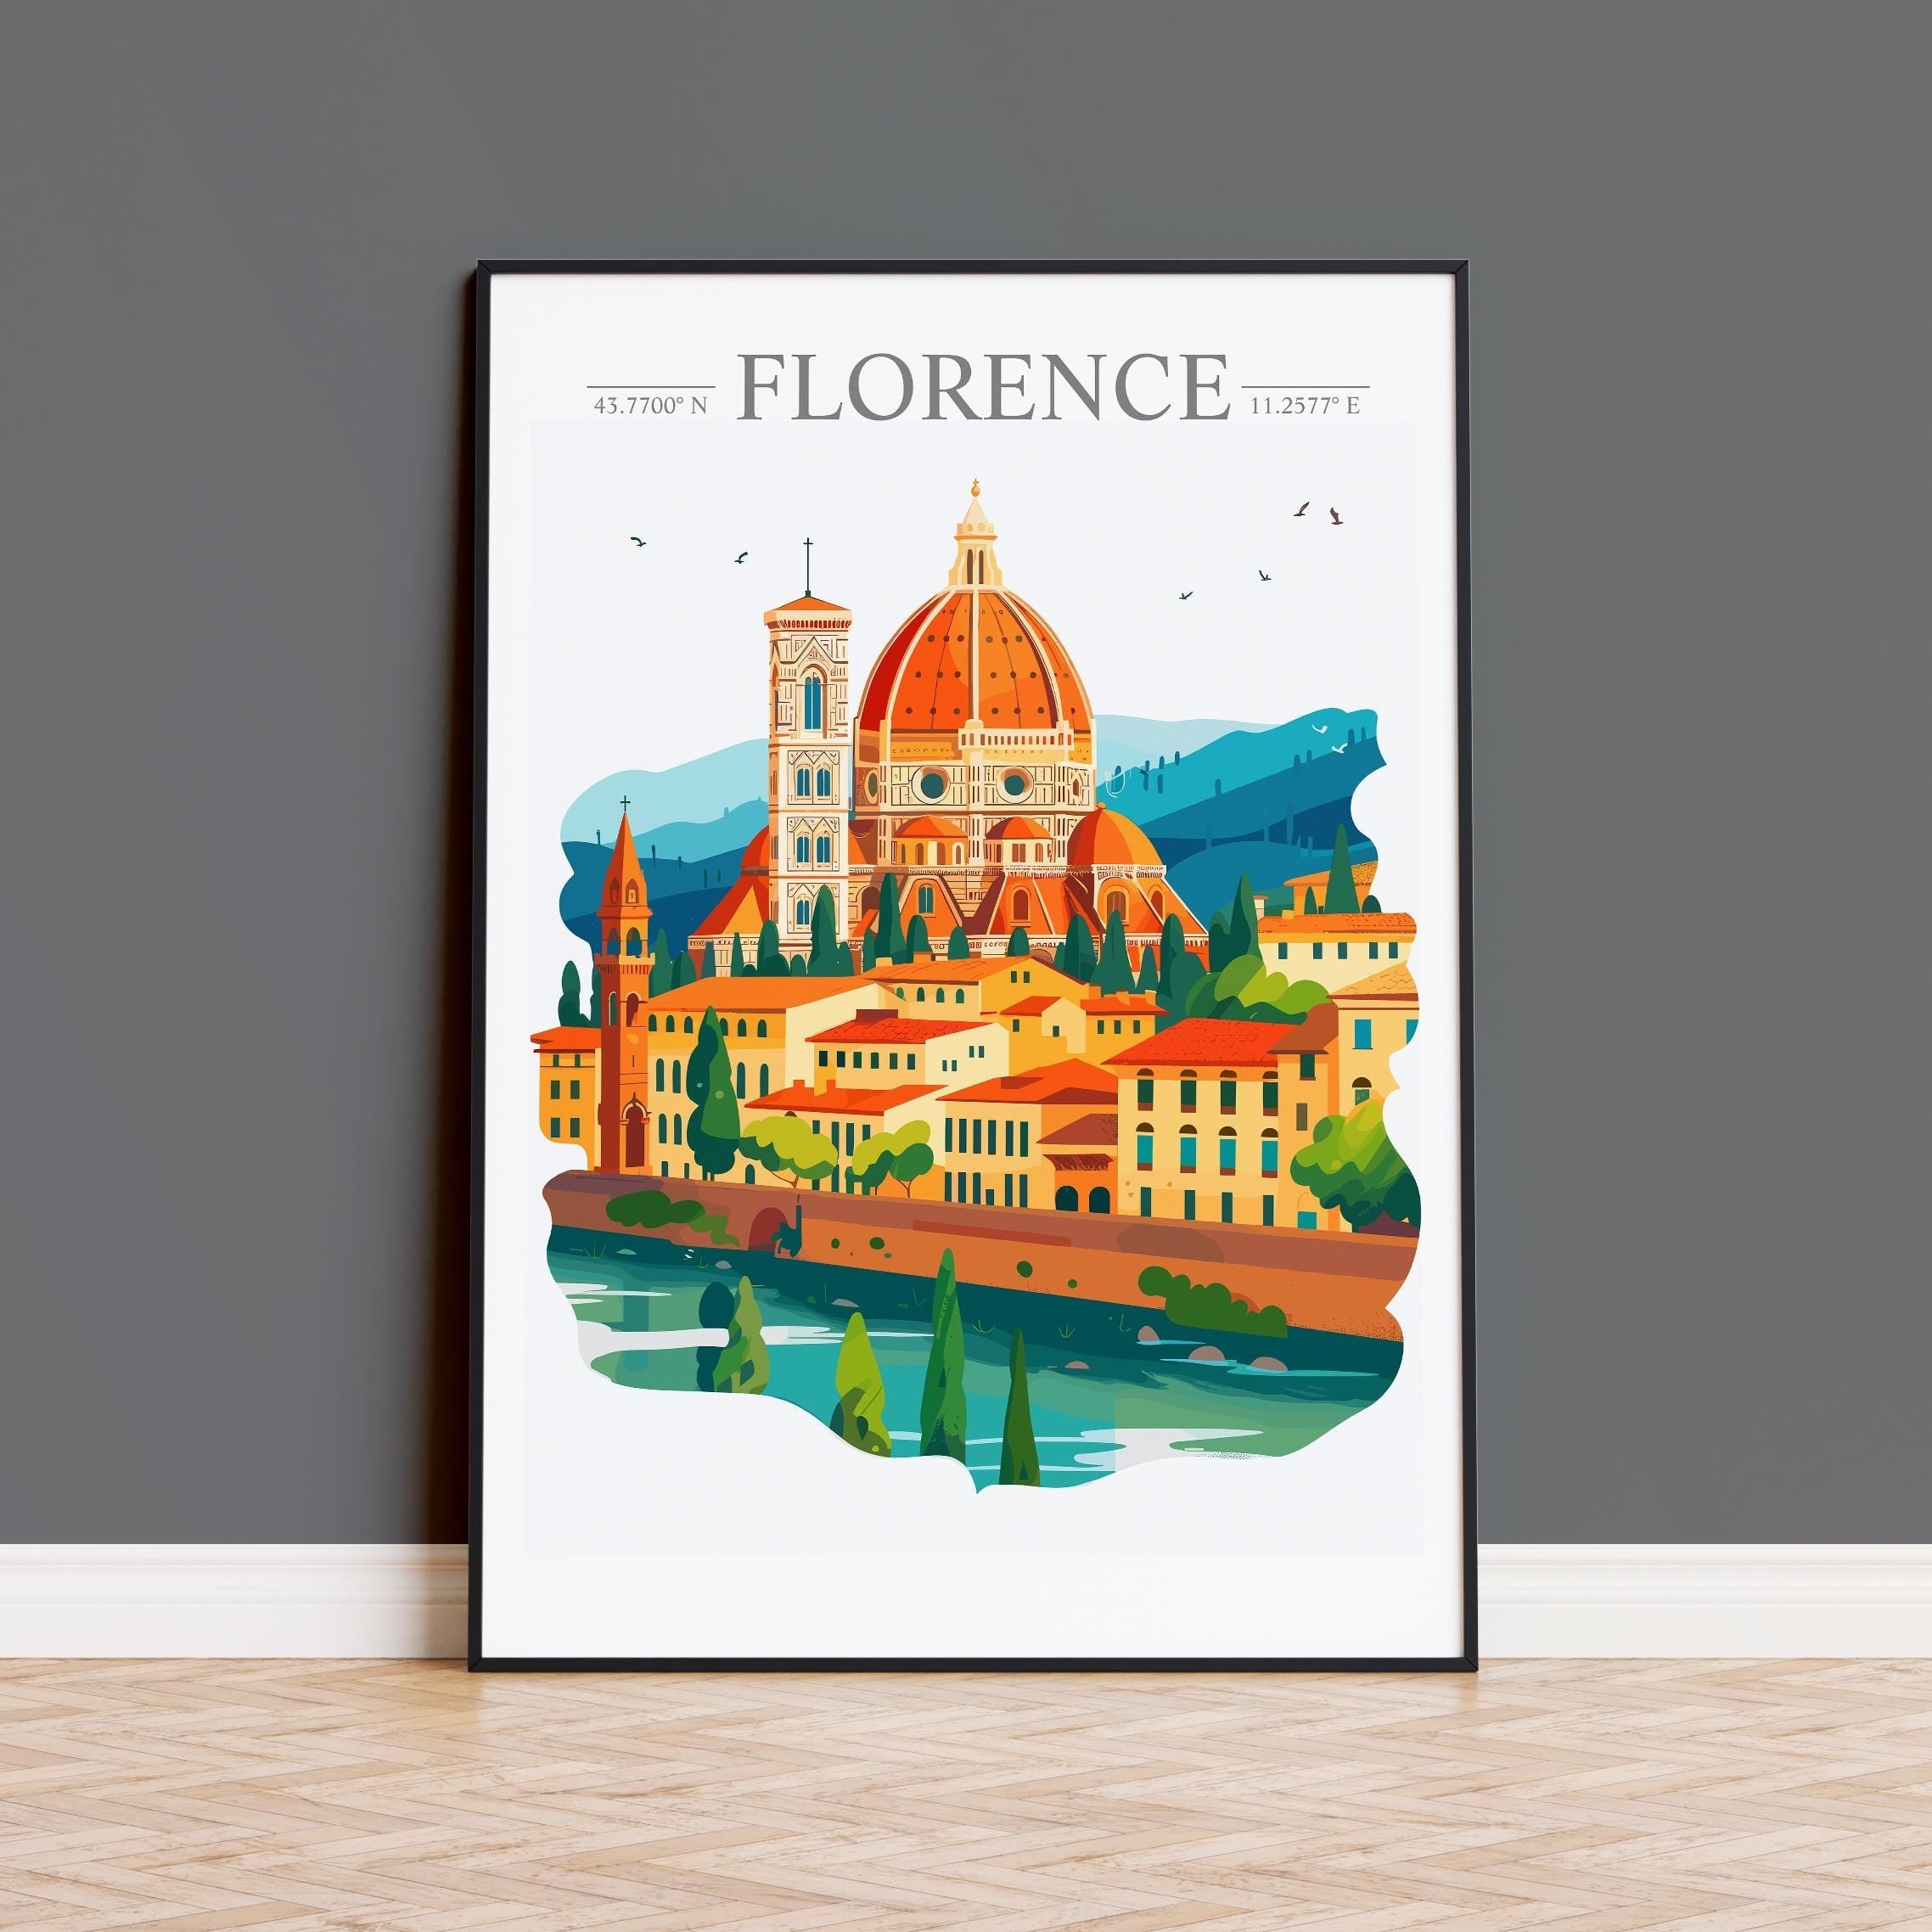
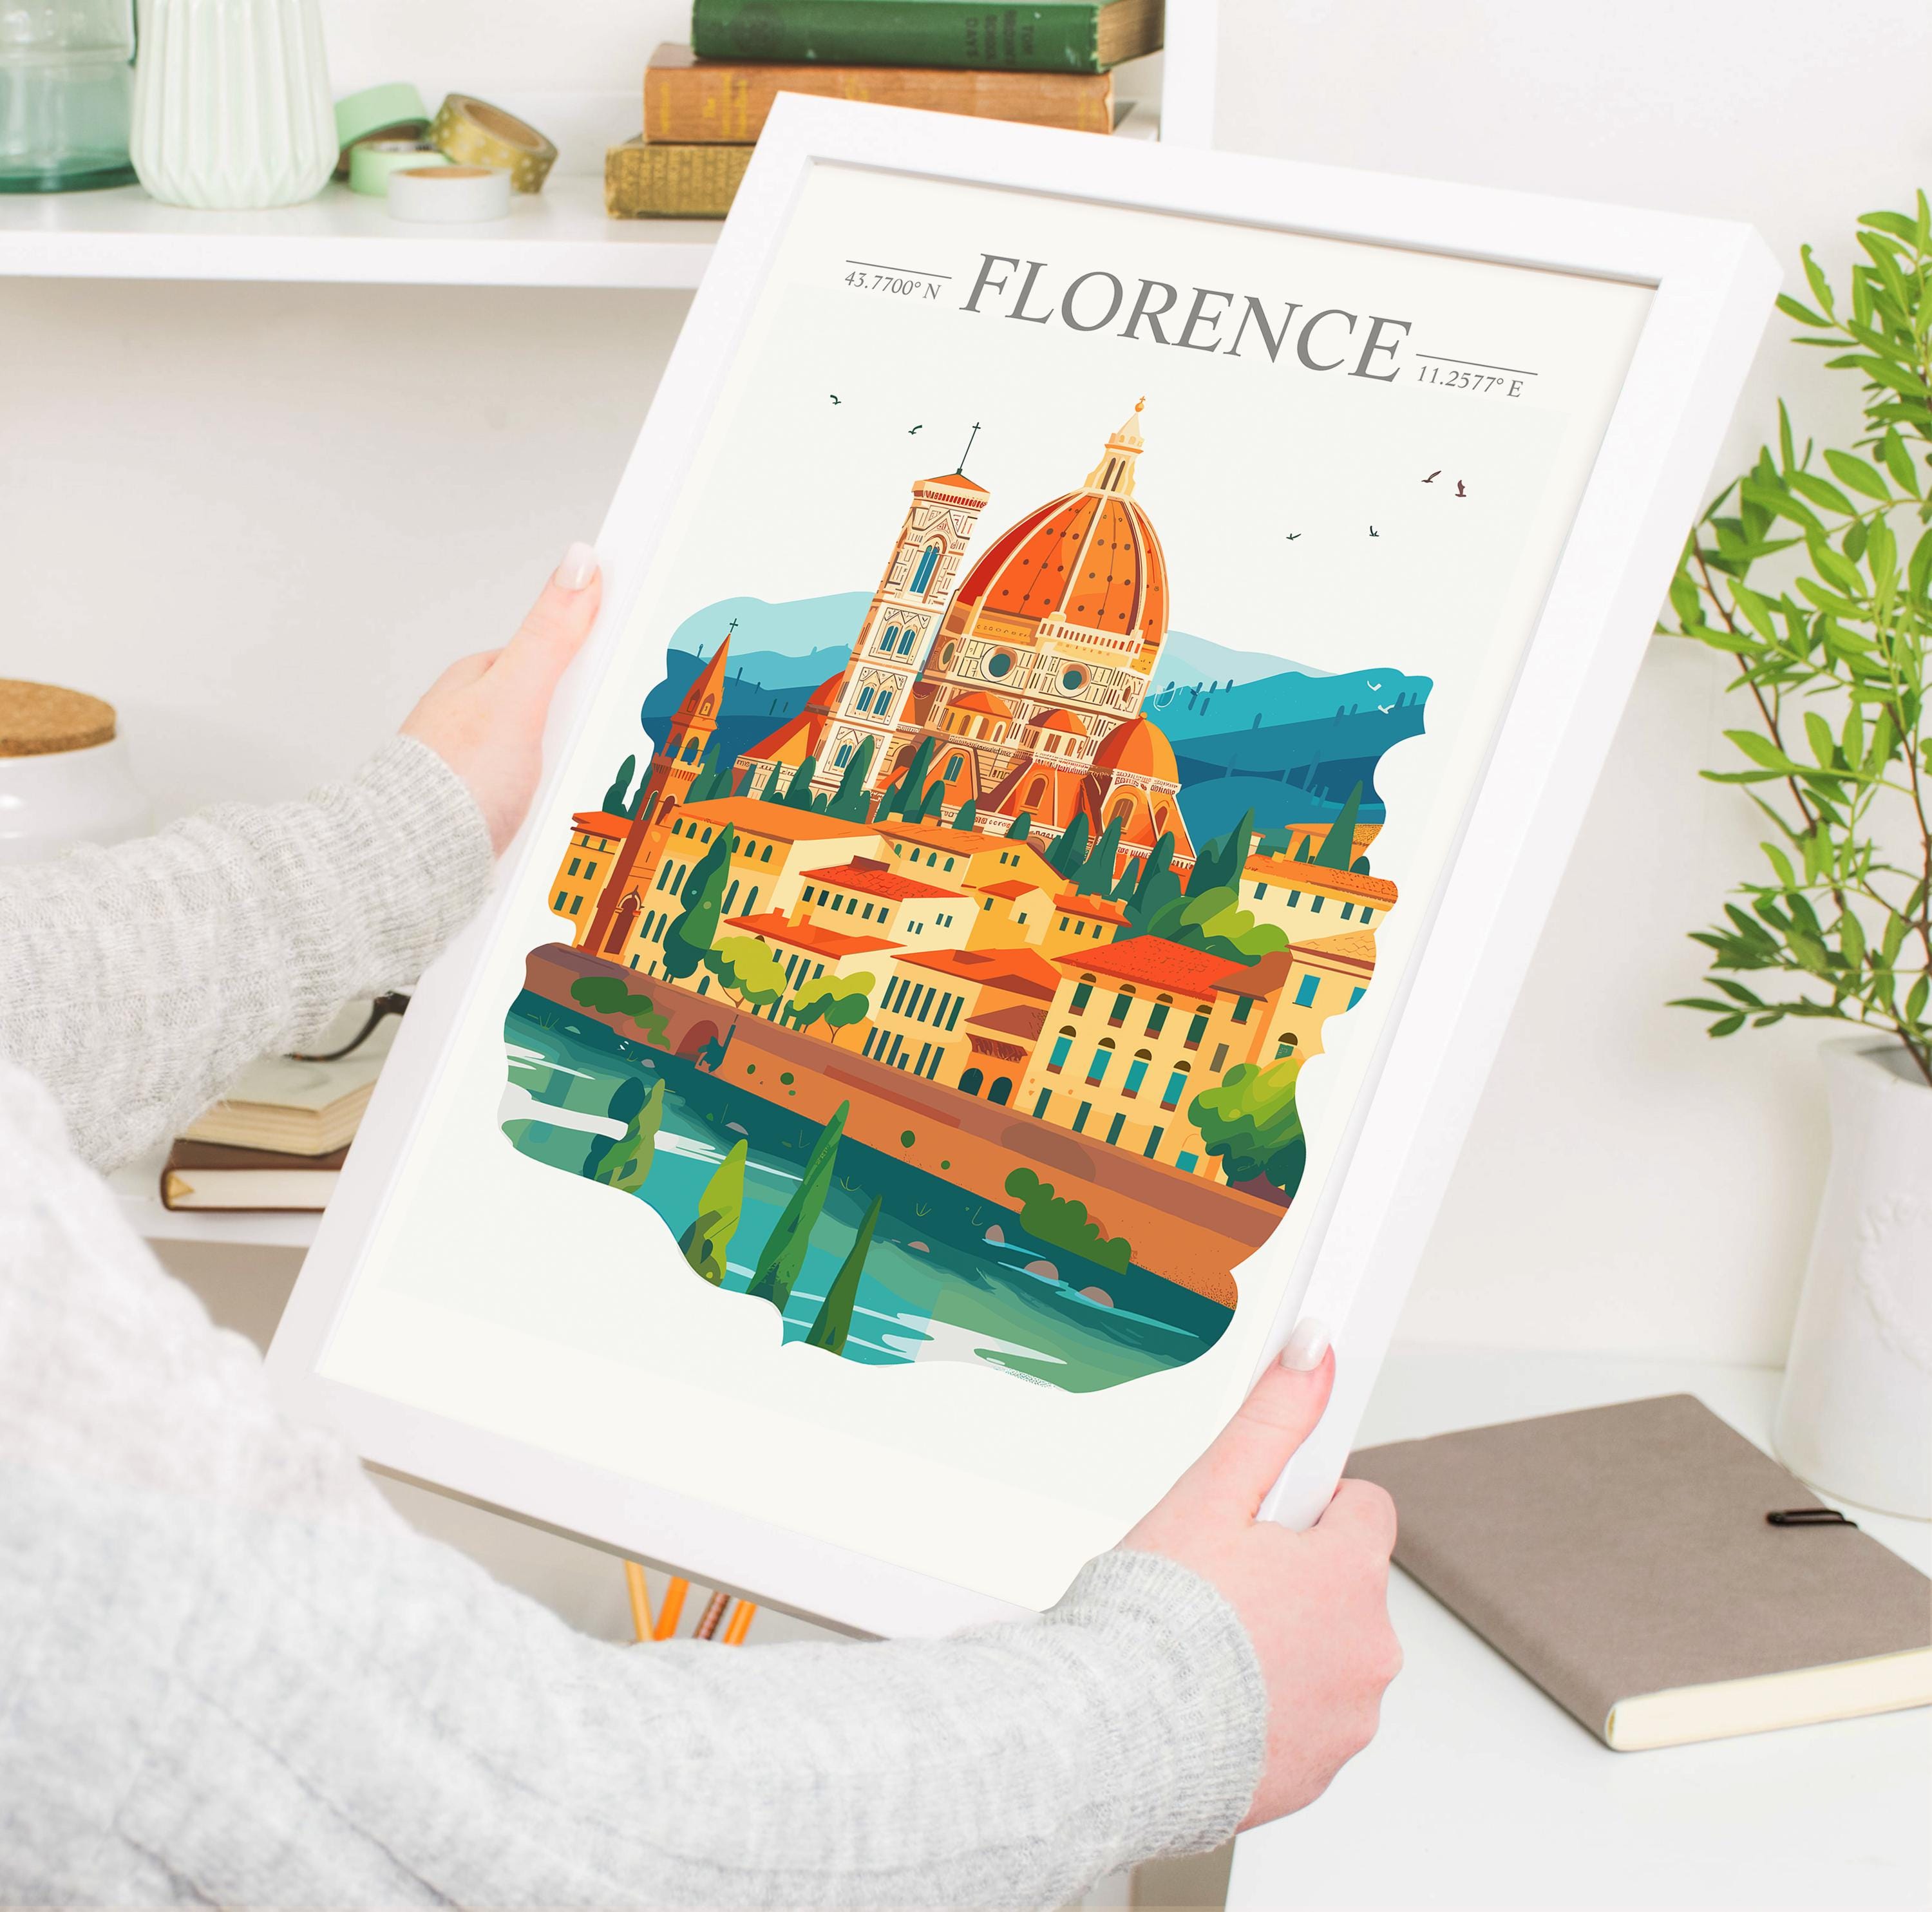
Use your largest or most colourful print as an anchor, building the rest of the gallery around it. Consider featuring your favourite destination like the Yorkshire Dales or Florence as your centrepiece.
Tell a Story
Arrange prints geographically (left to right across a continent) or chronologically (your travel timeline).
Add Dimension
Include a small shelf within your gallery to display travel souvenirs or books.
Seasonal Rotation
Swap prints seasonally to keep your gallery fresh and reflect different moods throughout the year.
Include Personal Touches
Mix travel prints with personal photographs from your trips for added meaning.
Budget-Friendly Gallery Wall Tips
Start Small and Grow
Begin with 3-5 prints and add over time as budget allows.
Mix Frame Sources
Combine ready-framed prints with DIY framing to control costs.
Choose Strategic Sizes
A4 and A3 prints offer best value while creating impact.
Shop Sales
Build your collection during seasonal sales and promotions.
DIY Elements
Create some frames yourself or upcycle existing frames with paint.
Conclusion
Creating the perfect gallery wall with travel prints transforms blank walls into personal storytelling spaces that celebrate your adventures and dreams. Whether you choose a structured grid or an organic salon-style arrangement, your gallery wall becomes a unique reflection of your personality and passions.
The key to success lies in careful planning, thoughtful destination selection, and patient installation. Take time to experiment with arrangements, maintain consistent spacing, and ensure proper hanging height. The result will be a stunning focal point that brings joy every time you see it and sparks conversations with every guest.
Your gallery wall isn't just decor – it's a visual diary of places you've loved, memories you've made, and dreams you're pursuing. Start planning your travel print gallery wall today and transform your space into a celebration of wanderlust.
Ready to start your gallery wall? Explore our collection of travel prints in various sizes, perfect for creating stunning gallery wall arrangements that tell your unique travel story.
Shop our collection:


